October 27, 2026
Adding an awning to your home or business can make an outdoor space more comfortable, provide shade from direct sunlight, and create a more enjoyable place to relax or entertain. Retractable awnings offer additional flexibility because they can be extended when shade is needed and retracted when you want more sunlight or an unobstructed view. However, before enjoying these benefits, it is helpful to understand what happens during the installation process.
For property owners considering a new awning, knowing what to expect can make the experience less stressful and help ensure the finished product meets their needs. From the initial measurements and mounting preparations to the final adjustments, each step plays an important role in the awning's performance and appearance. Carolina Awning can help property owners understand the process of adding a retractable awning to their outdoor living areas. With proper planning and professional installation, homeowners can look forward to a functional addition that complements their property.
Understanding the Initial Consultation
The installation process typically begins with a consultation to discuss your goals, evaluate your outdoor space, and determine which awning configuration may work best. During this stage, you can explain how you intend to use the area, whether you want to shade a patio, cover a deck, or create a more comfortable space outside a business.
The installer may ask about your preferred coverage area, how much sunlight the space receives, and whether you want the awning to extend over windows, doors, or outdoor seating. These details help establish the appropriate size, projection, and placement for the new awning.
You can also discuss design preferences, including fabric colors, patterns, and frame finishes. Choosing an option that complements your property's exterior can help the awning blend naturally with the existing architecture. It is also a good time to ask about available operating mechanisms, maintenance requirements, and any features that may improve everyday convenience.
A thorough consultation establishes clear expectations before work begins. It also gives you an opportunity to ask questions and communicate any concerns about access, installation timing, or how the finished awning will look.
Preparing the Installation Area
Once the awning and its placement have been determined, the next step involves preparing the installation area. The installer will need to examine the surface where the mounting brackets will attach to the building. Depending on the design of your home or business, the awning may be mounted to an exterior wall, an appropriate structural section, or another approved mounting surface.
This evaluation is important because
retractable awnings must be securely supported. The mounting surface needs to accommodate the awning's weight and the forces created when the unit extends, retracts, or encounters wind. The installer may need to identify structural framing or use mounting hardware designed for the particular construction material.
Before installation day, property owners can help by clearing furniture, potted plants, grills, and other items from the immediate work area. Moving vehicles away from the installation zone may also provide additional room for equipment and materials. If the awning will be installed above a patio or deck, removing fragile decorations and securing loose belongings can make the area safer and easier to access.
It is also worth confirming whether the installation requires access to an electrical outlet or another power source, particularly if you have selected a motorized model. Taking care of these preparations helps the installation team work efficiently while reducing the risk of accidental damage to nearby belongings.
Taking Accurate Measurements
Accurate measurements are essential for ensuring that an awning fits the intended space and operates properly. During this stage, the installer verifies the available mounting width, the desired projection, and the height at which the awning will sit. These measurements help determine how much coverage the awning can provide without interfering with doors, windows, walkways, or other architectural features.
The installer must also account for the awning's angle and the clearance needed when the unit is fully extended and completely retracted. An awning that extends too far could obstruct a pathway or conflict with nearby landscaping. Incorrect positioning could also affect water runoff or limit the amount of usable outdoor space beneath the structure.
The surrounding environment matters, too. Nearby trees, exterior lights, gutters, and other features may influence where the awning can be mounted. If the installation involves a motorized system, the installer will also consider the routing of electrical components and the placement of controls.
These measurements provide a practical foundation for the installation. Although property owners may already have an idea of where they want the awning, professional measurements help confirm that the selected design can accommodate the space and its specific requirements.
Connecting the Operating System
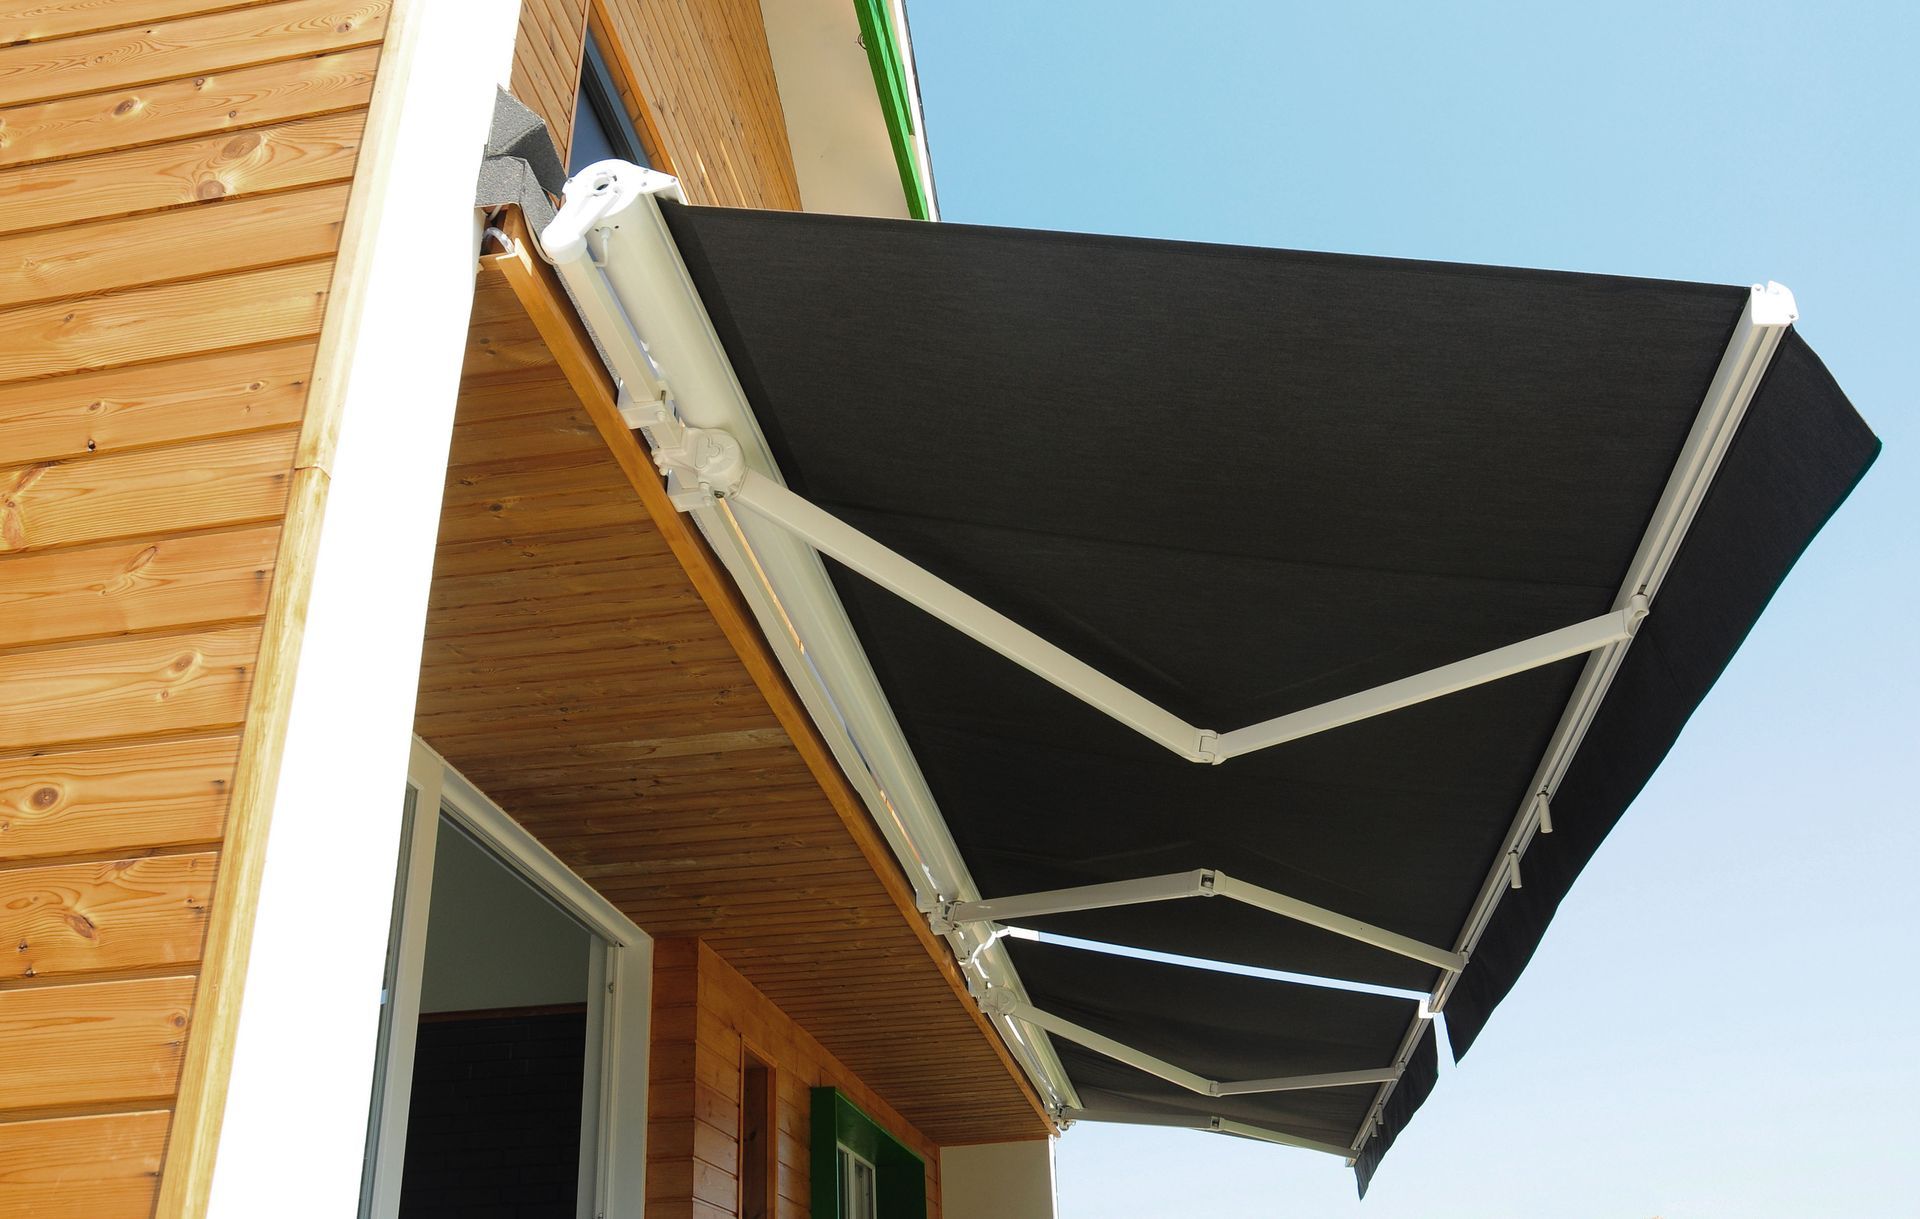
With the main assembly in place, the installer will address the mechanism used to extend and retract the awning. Depending on the model, this may involve a manual crank or an electric motor controlled by a switch, remote, or compatible automation system.
Manual systems generally rely on a hand-operated mechanism that allows users to adjust the awning as needed. Motorized options provide additional convenience, particularly for larger installations or property owners who expect to adjust their awnings frequently. Some models may also support accessories such as wind sensors or sun sensors, depending on the manufacturer's available features.
For an electric model, the installer will follow the applicable electrical requirements and manufacturer instructions when connecting the motor and controls. Electrical work may require a qualified professional, depending on the scope of the installation and local regulations. Homeowners should discuss power requirements in advance to avoid unexpected complications.
Testing the Awning's Operation
After the components have been installed, the team will test the awning to confirm that it functions as intended. This is an important quality-check stage because it allows the installer to identify alignment issues, unusual noises, or other concerns before the project is considered complete.
The awning will typically be extended and retracted to evaluate the movement of its arms, the positioning of the fabric, and the operation of the control system. The installer may make adjustments to the pitch, alignment, or tension according to the manufacturer's instructions. These adjustments help the awning open evenly and retract without unnecessary resistance.
The installer will also check that the awning has appropriate clearance from nearby doors, windows, gutters, and other features. If the unit includes motorized controls or optional sensors, those components may be tested as well.
According to HomeGuide, the installation process for a retractable awning usually takes between 3 and 5 hours. However, the actual time can vary depending on the awning's size, the complexity of the mounting location, the type of operating system, and any additional work that may be required. Unusual structural conditions or electrical needs could extend the schedule.
Before the team finishes, take the opportunity to observe the awning in operation and ask questions about anything that seems unclear. Confirming that the unit operates smoothly and that you understand its basic controls helps establish a good starting point for long-term use.
When you are ready to improve your outdoor space, Carolina Awning can help you explore awning options suited to your property and intended use. By selecting an appropriate design and ensuring that installation requirements are addressed, you can create a shaded outdoor area that offers flexibility, comfort, and practical everyday benefits. Contact us today for more information.